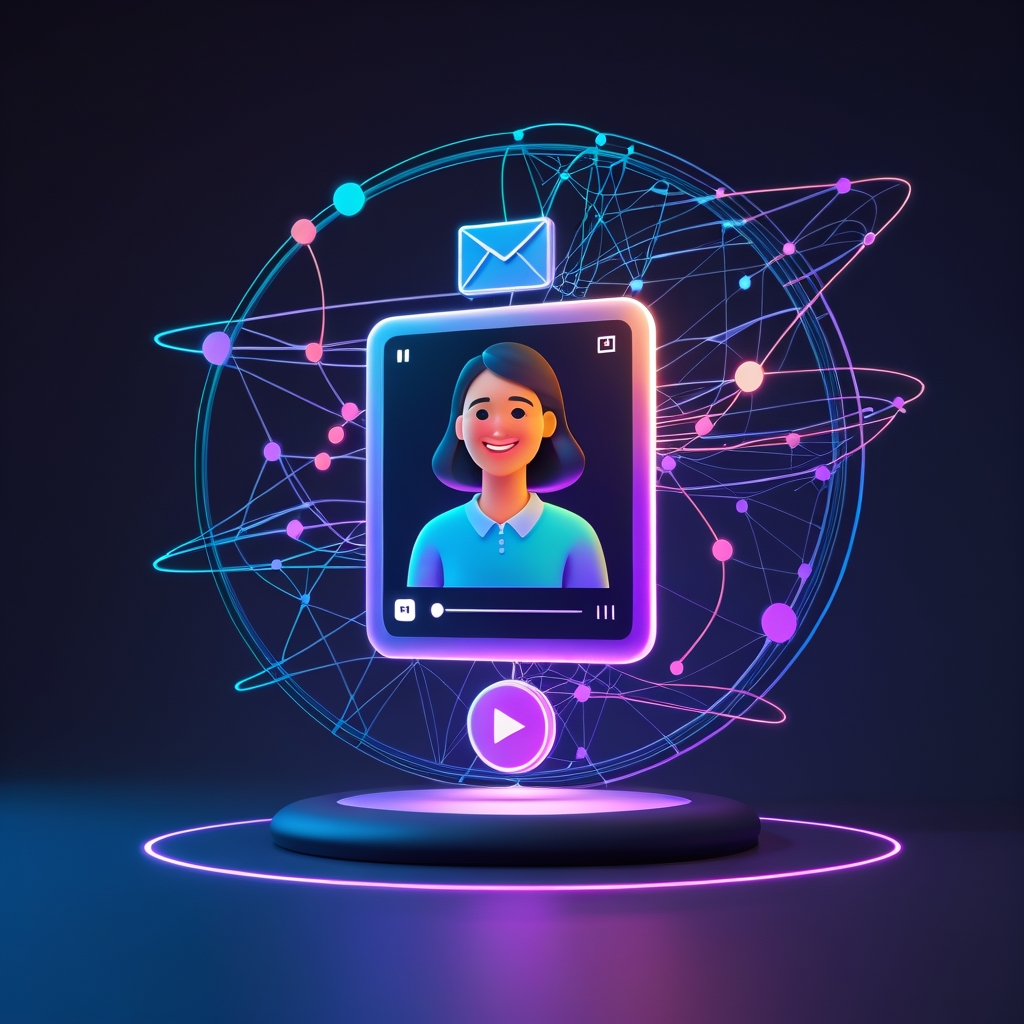
Imagine the feeling. A notification pops up: a new subscriber just joined your Mailchimp list. It’s a small victory, a validation of your marketing efforts. But what happens next is what truly defines their entire journey with your brand. The default is a standard, automated welcome email. It’s functional, it’s expected, and it’s largely forgettable. While welcome emails boast an impressive average open rate of nearly 82%, the subsequent engagement often falls flat. The challenge isn’t just welcoming them; it’s making them feel seen, creating a memorable connection that stands out in a crowded inbox. How do you scale a personal touch without manually recording a unique video for every single person who signs up? In a world of mass email, genuine personalization seems like an impossible, unscalable dream.
But what if you could bridge that gap? What if every new subscriber received a short video message, seemingly recorded just for them, addressing them by their first name? This isn’t science fiction; it’s the power of applied artificial intelligence in modern marketing. By combining the strengths of leading AI platforms, you can build an automated engine that generates unique, personalized videos on the fly. This guide will walk you through the exact technical steps to build this system. We will leverage Mailchimp as our trigger, the powerful voice synthesis of ElevenLabs to create lifelike custom audio, and the cutting-edge video generation of HeyGen to craft a personalized visual welcome. This isn’t a theoretical overview; it’s a practical, step-by-step tutorial. By the end, you’ll have a complete blueprint for an automation that transforms a generic touchpoint into a powerful, loyalty-building first impression, proving that a personal connection can, in fact, be scaled.
The Architecture of an Automated Video Personalization Engine
Before diving into the nuts and bolts of API calls and automation steps, it’s crucial to understand the high-level architecture of what we’re building. This system acts like a digital assembly line, where each tool has a specific job, working in concert to produce the final, personalized video. At its core, this workflow is about passing data from one service to another in a precise sequence.
The Core Components: Mailchimp, Zapier, HeyGen, and ElevenLabs
Our personalization engine relies on four key platforms, each playing a critical role:
- Mailchimp: This is our trigger and customer data source. When a new subscriber joins your audience, Mailchimp kicks off the entire process. It provides the essential piece of personalization data: the subscriber’s first name and email address.
- Zapier: This is the central nervous system of our operation. Zapier is a workflow automation tool that connects thousands of apps. It will “listen” for the new subscriber event in Mailchimp and then orchestrate the entire sequence of actions, passing data to ElevenLabs and HeyGen, and finally delivering the completed video.
- ElevenLabs: This platform is our voice. We will use its sophisticated Text-to-Speech (TTS) API to generate a high-quality audio clip that says a custom welcome message, including the new subscriber’s name. Its ability to create natural, emotionally resonant voices is key to making the video feel authentic. To get started with realistic AI voices, you can try for free now.
- HeyGen: This is our face. HeyGen specializes in AI video generation, allowing you to create a reusable video template (an “avatar”) of yourself. We will send the personalized audio from ElevenLabs to HeyGen, which will then generate a new video file where your avatar flawlessly lip-syncs the custom message. To create your personalized video avatar, click here to sign up for HeyGen.
The Workflow Logic: From Trigger to Video Delivery
The sequence of events is logical and linear. Visualizing this flow helps in troubleshooting and understanding the data handoffs at each stage:
- Trigger: A person subscribes to your designated Mailchimp audience.
- Detection: A Zapier workflow (a “Zap”) detects this “New Subscriber” event and pulls in their data, specifically their first name and email.
- Audio Generation: Zapier formats a text string (e.g., “Hi, [First Name]! Welcome to the list.”) and sends it to the ElevenLabs API.
- Audio Retrieval: ElevenLabs returns a URL pointing to the generated MP3 audio file.
- Video Generation: Zapier takes the audio file URL and sends a new request to the HeyGen API, instructing it to create a video using your pre-recorded avatar template and the new custom audio.
- Video Retrieval & Delivery: HeyGen’s API processes the video. Once rendering is complete, Zapier retrieves the final video URL. It then uses a service like Gmail or an email API to send a new, personalized email to the subscriber containing a link to or an embedded GIF of their unique welcome video.
Step-by-Step Guide: Setting Up Your Tools
With the architecture understood, let’s configure each tool. This initial setup is a one-time process that creates the foundation for your automation.
H3: Configuring ElevenLabs for a High-Quality Custom Voice
The authenticity of your video hinges on the quality of your voice. ElevenLabs excels at this. Your goal here is to either use one of their high-quality pre-made voices or, for maximum personalization, clone your own.
- Sign Up and Get Your API Key: After signing up for ElevenLabs, navigate to your profile section and locate your API Key. Copy this key and store it securely; you’ll need it for the Zapier integration.
- Choose or Create Your Voice: You can use the Voice Lab to either design a new voice or use the Instant Voice Cloning feature. To clone your voice, you’ll need to upload a few minutes of clean, high-quality audio of you speaking. Avoid background noise and use a good microphone.
- Get Your Voice ID: Once you have a voice you’re happy with in your Voice Lab, click on it. The Voice ID is a string of characters you’ll need to tell the API which voice to use. Copy and save this ID alongside your API key.
H3: Creating Your Reusable Video Template in HeyGen
Next, you need to create the visual component: your video avatar. This is a short video of you that HeyGen will use as a base layer for the lip-syncing.
- Record Your Avatar Video: Record a 1-2 minute video of yourself speaking directly to the camera. Tips for a great result:
- Use good, consistent lighting.
- Choose a neutral, uncluttered background.
- Look directly into the camera lens.
- Pause for 2-3 seconds between sentences and keep your gestures minimal.
- Upload and Create the Avatar: In your HeyGen account, navigate to the “Avatar” section and upload your video. The platform will process it to create your reusable Instant Avatar.
- Get Your Avatar ID and API Key: Once your avatar is ready, you can find its unique Avatar ID in the an URL path. Next, go to your account settings to find and copy your HeyGen API Key. You now have the three critical identifiers: ElevenLabs API Key, Voice ID, and HeyGen Avatar ID and API Key.
H3: Prepping Your Mailchimp Audience
This is a simple but vital step. Your automation relies on having the subscriber’s first name. In your Mailchimp audience, ensure that the “First Name” field is visible and encouraged on your signup forms. By default, its merge tag is *|FNAME|*, which is what we’ll use.
Building the Automation Workflow in Zapier
This is where we connect everything. Log into Zapier and create a new Zap. We’ll build our workflow step by step, using Webhooks for maximum control over the API requests.
Step 1: Setting Up the Mailchimp Trigger
- App & Event: Search for and select Mailchimp. Choose the trigger event “New Subscriber”.
- Connect Account: Connect your Mailchimp account and grant Zapier permission.
- Configure Trigger: Select the specific Mailchimp Audience you want to monitor.
- Test: Run a test to pull in the most recent subscriber data. This is crucial as it gives you sample data (like a first name and email) to use in the following steps.
Step 2: Generating Personalized Audio with ElevenLabs
- App & Event: Add a new step and choose “Webhooks by Zapier”. Select the action event “POST”.
- Configure Action:
- URL: Enter the an ElevenLabs API endpoint for text-to-speech. It will look like this, with
{voice_id}replaced by the ID you saved earlier:https://api.elevenlabs.io/v1/text-to-speech/YOUR_VOICE_ID - Payload Type: Set to JSON.
- Data: Here, you build the request body. In the left field, type
text. In the right field, construct your message, inserting the first name from the Mailchimp step. It should look like this:Hi(then select “First Name” from the Mailchimp data)! Welcome to our community. We are so excited to have you.You can also add other fields likemodel_idandvoice_settingsas needed for more control. - Headers: You need to add two headers. In the first row, type
Content-Typeon the left andapplication/jsonon the right. In the second row, typexi-api-keyon the left and paste your ElevenLabs API Key on the right.
- URL: Enter the an ElevenLabs API endpoint for text-to-speech. It will look like this, with
- Test: Test this step. Zapier will send the request to ElevenLabs, and if successful, the response will not be a URL, but the audio data itself. This is a recent change that requires an extra step.
Step 3: Creating the Personalized Video with HeyGen
Because the ElevenLabs step returns raw audio data, not a public URL, we cannot send it directly to HeyGen. We need to upload it somewhere first or use a multi-step Zap. For this guide, we’ll assume a workflow where the audio needs a public URL. A workaround is to use a Zapier step like “Upload File to Google Drive” and then get a shareable link. However, to keep this walkthrough focused on the core APIs, we will proceed as if we have an audio URL. Note: Advanced users can handle the file data directly.
- App & Event: Add a new step, choose “Webhooks by Zapier”, and select the action event “POST”.
- Configure Action:
- URL: Enter the HeyGen API endpoint for generating a video from an avatar and audio:
https://api.heygen.com/v2/video/generate - Payload Type: JSON.
- Data: This is the most complex part. You need to structure the JSON payload precisely. It will look something like this:
json

    {

      "video_inputs": [

        {

          "character": {

            "type": "avatar",

            "avatar_id": "YOUR_AVATAR_ID"

          },

          "voice": {

            "type": "audio",

            "audio_url": "URL_FROM_AUDIO_HOSTING_STEP"

          }

        }

      ],

      "test": true,

      "dimension": {

        "width": 1920,

        "height": 1080

      }

    }
ReplaceYOUR_AVATAR_IDwith the ID you saved, and map theaudio_urlto the URL of the audio file generated in the previous step (or from your file hosting step). - Headers: Add
X-Api-Keyon the left and your HeyGen API Key on the right. Also addContent-Typeandapplication/json.
- URL: Enter the HeyGen API endpoint for generating a video from an avatar and audio:
- Test: When you test this, HeyGen will start generating the video. The response will include a
video_id. This doesn’t mean the video is done, just that the job has started.
Step 4: Retrieving and Delivering the Video
Since video generation takes time, we need to wait for it. The best practice is using HeyGen’s webhook callback feature, but a simpler method within Zapier is to use a delay.
- Add a Delay: Add a “Delay by Zapier” step. Set it to wait for 2-3 minutes.
- Check Video Status: Add another “Webhooks by Zapier” step, but this time choose the action “GET”.
- URL: Use the video information retrieval endpoint:
https://api.heygen.com/v1/video_status.get?video_id=and map thevideo_idfrom the previous HeyGen step. - Headers: Add your
X-Api-Key. - When you test this, the response should include the
video_urlif rendering is complete.
- URL: Use the video information retrieval endpoint:
- Send the Email: Add a final step using Gmail (or your preferred email service). Select the action “Send Email”.
- To: Map the “Email” field from the initial Mailchimp trigger.
- Subject: Personalize it!
A Personal Welcome for You,(map the “First Name”). - Body: Write your welcome message and include the video link.
Hi(map First Name),I wanted to personally say welcome! I recorded this quick video for you:(map thevideo_urlfrom the GET request step).
Turn on your Zap, and your automated personalization engine is now live.
Beyond the Welcome: Other Use Cases for Marketers
Mastering this workflow unlocks a vast array of possibilities beyond the initial welcome email. Consider these applications:
- Personalized Event Invitations: Send video invites to a segment of your list, addressing each person by name and perhaps mentioning their company.
- Re-engagement Campaigns: Target subscribers who haven’t opened an email in 90 days with a personal plea via video to see if they’re still interested.
- High-Value Content Promotion: When launching a major new course or ebook, send personalized video snippets to your most engaged subscribers to drive conversions.
This technique fundamentally changes how you can communicate with your audience at scale, turning anonymous broadcasts into a series of one-on-one conversations.
That initial notification of a new subscriber is a moment of opportunity. With a standard welcome email, it’s a fleeting one. But with an automated, AI-powered video, you seize that moment to build a real, memorable connection. You’ve transformed a simple signup from a database entry into a personal handshake. No longer are subscribers just another row in a database; they’re individuals receiving a personal, one-to-one greeting, scaling the ‘unscalable’ connection that builds lasting brand loyalty. Ready to transform your subscriber onboarding and leave a lasting first impression? Get started by creating your custom voice and video avatar. Try ElevenLabs for free now and click here to sign up for HeyGen to build your first automated video campaign today.


