Introduction: The Voice Revolution in Customer Support
Imagine a customer reaching out to your support line with a complex technical issue. Instead of navigating through endless menu options or waiting for an agent, they’re greeted by a natural-sounding voice that understands their query, instantly retrieves relevant information from your knowledge base, and provides a personalized solution—all without human intervention.
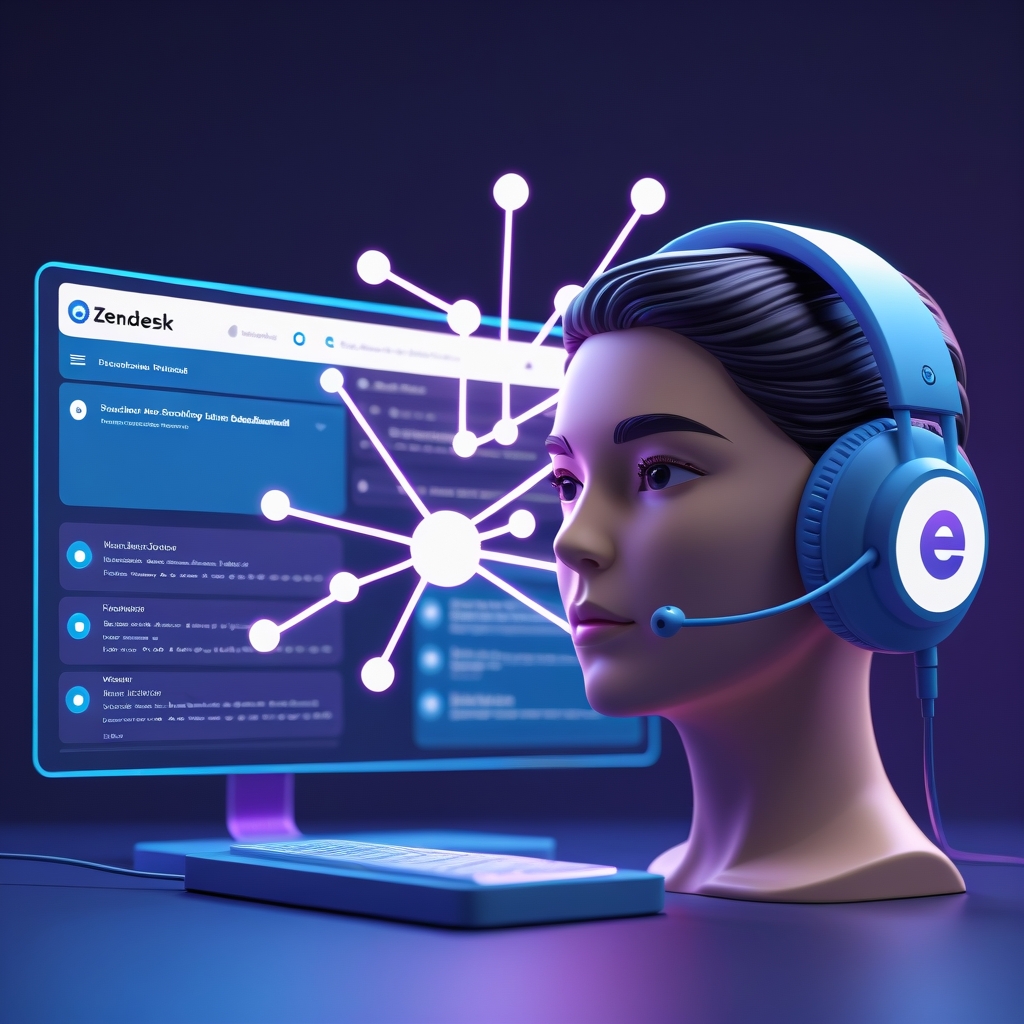
This isn’t science fiction. It’s the reality of what’s possible when you combine the power of ElevenLabs’ voice AI technology with Zendesk’s customer service platform through Retrieval Augmented Generation (RAG).
In today’s competitive landscape, customer expectations are higher than ever. Research shows that 76% of customers expect personalized interactions, and 74% will switch brands after a poor customer service experience. Meanwhile, support teams are drowning in tickets—with the average company seeing a 35% increase in support volume year over year.
The solution? Voice-enabled RAG systems that can:
- Reduce first response time by up to 80%
- Handle up to 65% of routine inquiries without human intervention
- Access real-time knowledge to provide accurate, consistent answers
- Scale infinitely without adding headcount
In this tutorial, I’ll walk you through building a voice-enabled customer support system that leverages ElevenLabs’ advanced voice AI and Zendesk’s robust ticketing capabilities, all powered by RAG technology to deliver intelligent, context-aware responses.
Understanding the Building Blocks: Voice AI, Zendesk, and RAG
What is Retrieval Augmented Generation (RAG)?
Before diving into the integration, let’s understand what makes RAG technology so powerful. Traditional AI models rely solely on their pre-trained knowledge, which can quickly become outdated and lacks context specific to your business.
RAG solves this problem by enabling AI systems to:
- Retrieve relevant information from your knowledge base in real-time
- Augment the AI’s generation process with this contextual information
- Generate accurate, up-to-date responses based on the combined knowledge
The result is a system that can answer questions based on your specific business data—product documentation, previous support interactions, internal knowledge bases—rather than generic, potentially outdated information.
ElevenLabs’ Voice AI Technology
ElevenLabs has emerged as the industry leader in voice AI, offering unparalleled naturalness and emotion in synthesized speech. Their technology enables:
- Ultra-realistic voice synthesis that’s virtually indistinguishable from human speech
- Support for 29+ languages with native-quality accents
- Voice cloning capabilities to maintain brand consistency
- Real-time speech processing for natural conversations
Zendesk’s Customer Service Infrastructure
Zendesk provides the backbone for customer support operations, offering:
- Omnichannel ticketing system
- Robust API for automation and integration
- Knowledge base management
- Analytics and reporting capabilities
Setting Up Your Development Environment
Before we begin the integration process, let’s ensure you have the necessary tools and credentials in place:
Prerequisites
- An active ElevenLabs account with access to their Conversational AI platform
- A Zendesk account with administrator privileges
- Basic knowledge of REST APIs and webhook implementations
- Python 3.8 or higher installed on your development machine
- Required Python packages:
requests,flask,elevenlabs,langchain
You can install the required packages using pip:
pip install requests flask elevenlabs langchain python-dotenv
Setting Up Environment Variables
Create a .env file in your project directory to store your API credentials:
# ElevenLabs API credentials
ELEVENLABS_API_KEY=your_elevenlabs_api_key
ELEVENLABS_VOICE_ID=your_preferred_voice_id

# Zendesk API credentials
ZENDESK_DOMAIN=your_zendesk_domain
ZENDESK_EMAIL=your_zendesk_email
ZENDESK_API_TOKEN=your_zendesk_api_token
Step 1: Creating Your ElevenLabs Voice Assistant
First, we need to set up a voice agent in ElevenLabs’ Conversational AI platform.
Creating a New Agent
- Log in to your ElevenLabs account and navigate to the Conversational AI section
- Click “Create New Agent”
- Give your agent a name (e.g., “Zendesk Support Assistant”)
- Select a voice from the voice library or upload a custom voice
- Define your agent’s personality (e.g., helpful, professional, empathetic)
Configuring RAG Capabilities
To enable your agent to access your knowledge base:
- Go to your agent’s settings and select the “Knowledge Base” tab
- Enable the RAG feature by toggling it on
- Select the appropriate embedding model (we recommend using “Contextual Large” for support scenarios)
- Set the maximum document chunks to 10 for comprehensive context retrieval
Uploading Knowledge Base Documents
Now, let’s populate your knowledge base with relevant support content:
- Prepare your support documents in PDF, DOCX, or TXT format
- Click “Add Documents” in the Knowledge Base section
- Upload your product documentation, FAQs, troubleshooting guides, and other relevant materials
- Wait for the indexing process to complete
ElevenLabs will automatically process your documents, breaking them into chunks and generating embeddings for efficient retrieval.
Step 2: Setting Up Zendesk Integration
Now, let’s connect your ElevenLabs agent to Zendesk to enable ticket creation and retrieval.
Creating a Zendesk API Token
- Log in to your Zendesk account
- Go to Admin > API > Tokens
- Click “Add API Token”
- Name your token (e.g., “ElevenLabs Integration”)
- Copy the generated token to your
.envfile
Implementing the Zendesk API Wrapper
Create a file named zendesk_api.py with the following code to handle Zendesk operations:
import requests
import os
from dotenv import load_dotenv

load_dotenv()

class ZendeskAPI:
    def __init__(self):
        self.domain = os.getenv('ZENDESK_DOMAIN')
        self.email = os.getenv('ZENDESK_EMAIL')
        self.token = os.getenv('ZENDESK_API_TOKEN')
        self.base_url = f"https://{self.domain}.zendesk.com/api/v2"
        self.auth = (f"{self.email}/token", self.token)

    def get_resolved_tickets(self, query, limit=5):
        """Retrieve resolved tickets matching the query"""
        url = f"{self.base_url}/search.json"
        params = {
            "query": f"type:ticket status:solved {query}",
            "sort_by": "updated_at",
            "sort_order": "desc",
            "limit": limit
        }
        response = requests.get(url, auth=self.auth, params=params)
        return response.json().get('results', [])

    def get_ticket_comments(self, ticket_id):
        """Retrieve comments from a specific ticket"""
        url = f"{self.base_url}/tickets/{ticket_id}/comments.json"
        response = requests.get(url, auth=self.auth)
        return response.json().get('comments', [])

    def create_ticket(self, subject, description, customer_email, priority="normal"):
        """Create a new support ticket"""
        url = f"{self.base_url}/tickets.json"
        data = {
            "ticket": {
                "subject": subject,
                "comment": {"body": description},
                "requester": {"email": customer_email},
                "priority": priority
            }
        }
        response = requests.post(url, auth=self.auth, json=data)
        return response.json()
Step 3: Building the RAG Engine
Now, let’s build the RAG engine that will power our voice assistant’s responses. Create a file named rag_engine.py:
from langchain.embeddings import OpenAIEmbeddings
from langchain.vectorstores import FAISS
from langchain.text_splitter import RecursiveCharacterTextSplitter
from langchain.chains import RetrievalQA
from langchain.chat_models import ChatOpenAI
import os
from dotenv import load_dotenv

load_dotenv()

class RAGEngine:
    def __init__(self):
        self.embeddings = OpenAIEmbeddings()
        self.text_splitter = RecursiveCharacterTextSplitter(
            chunk_size=1000,
            chunk_overlap=200
        )
        self.llm = ChatOpenAI(temperature=0.2)
        self.vector_store = None

    def index_zendesk_tickets(self, tickets):
        """Index Zendesk tickets for retrieval"""
        documents = []
        for ticket in tickets:
            # Format ticket data as a document
            content = f"Ticket ID: {ticket['id']}\n"
            content += f"Subject: {ticket['subject']}\n"
            content += f"Description: {ticket['description']}\n"
            content += f"Solution: {self._extract_solution(ticket)}"
            documents.append(content)

        # Split documents into chunks
        texts = self.text_splitter.create_documents(documents)

        # Create vector store
        self.vector_store = FAISS.from_documents(texts, self.embeddings)
        return len(texts)

    def _extract_solution(self, ticket):
        """Extract solution from ticket comments"""
        # In a real implementation, you would analyze the comment thread
        # to identify the solution. This is a simplified version.
        return ticket.get('solution_text', 'No solution found')

    def query_knowledge_base(self, query, k=3):
        """Query the knowledge base for relevant information"""
        if not self.vector_store:
            return "Knowledge base not initialized"

        retriever = self.vector_store.as_retriever(search_kwargs={"k": k})
        qa_chain = RetrievalQA.from_chain_type(
            llm=self.llm,
            chain_type="stuff",
            retriever=retriever
        )
        return qa_chain.run(query)
Step 4: Integrating ElevenLabs Voice Capabilities
Now, let’s add the voice capabilities using ElevenLabs’ API. Create a file named voice_service.py:
from elevenlabs import generate, save, set_api_key
import os
from dotenv import load_dotenv
import tempfile

load_dotenv()

class VoiceService:
    def __init__(self):
        set_api_key(os.getenv('ELEVENLABS_API_KEY'))
        self.voice_id = os.getenv('ELEVENLABS_VOICE_ID')

    def text_to_speech(self, text):
        """Convert text to speech using ElevenLabs"""
        audio = generate(
            text=text,
            voice=self.voice_id,
            model="eleven_monolingual_v1"
        )

        # Save to temporary file
        temp_file = tempfile.NamedTemporaryFile(delete=False, suffix=".mp3")
        save(audio, temp_file.name)
        return temp_file.name

    def create_conversational_response(self, text, optimize_latency=True):
        """Generate a voice response optimized for conversations"""
        audio = generate(
            text=text,
            voice=self.voice_id,
            model="eleven_turbo_v2",
            optimize_streaming_latency=3 if optimize_latency else 0
        )

        temp_file = tempfile.NamedTemporaryFile(delete=False, suffix=".mp3")
        save(audio, temp_file.name)
        return temp_file.name
Step 5: Building the Main Application
Now, let’s tie everything together in a main application. Create a file named app.py:
from flask import Flask, request, jsonify, send_file
from zendesk_api import ZendeskAPI
from rag_engine import RAGEngine
from voice_service import VoiceService
import os
from dotenv import load_dotenv
import json

load_dotenv()

app = Flask(__name__)
zendesk_api = ZendeskAPI()
rag_engine = RAGEngine()
voice_service = VoiceService()

# Cache for storing session data
session_cache = {}

@app.route('/webhook/incoming-call', methods=['POST'])
def incoming_call():
    """Handle incoming voice call"""
    call_data = request.json
    session_id = call_data.get('session_id')

    # Initialize session
    session_cache[session_id] = {
        'state': 'greeting',
        'customer_info': call_data.get('customer_info', {})
    }

    # Generate greeting
    greeting = "Welcome to our support line. How can I help you today?"
    audio_file = voice_service.text_to_speech(greeting)

    return send_file(audio_file, mimetype='audio/mp3')

@app.route('/webhook/query', methods=['POST'])
def handle_query():
    """Process customer query"""
    data = request.json
    session_id = data.get('session_id')
    query = data.get('transcription')

    if not session_id in session_cache:
        return jsonify({'error': 'Invalid session'}), 400

    session = session_cache[session_id]

    # Search for similar resolved tickets
    tickets = zendesk_api.get_resolved_tickets(query)

    # Index the tickets in our RAG engine
    rag_engine.index_zendesk_tickets(tickets)

    # Generate response using RAG
    response = rag_engine.query_knowledge_base(query)

    # Convert response to speech
    audio_file = voice_service.create_conversational_response(response)

    # Update session state
    session['state'] = 'answered'
    session['last_query'] = query
    session['last_response'] = response

    return send_file(audio_file, mimetype='audio/mp3')

@app.route('/webhook/create-ticket', methods=['POST'])
def create_ticket():
    """Create a new support ticket if RAG couldn't resolve the issue"""
    data = request.json
    session_id = data.get('session_id')
    resolution_status = data.get('resolution_status', 'unresolved')

    if not session_id in session_cache:
        return jsonify({'error': 'Invalid session'}), 400

    session = session_cache[session_id]

    if resolution_status == 'unresolved':
        # Create ticket in Zendesk
        ticket = zendesk_api.create_ticket(
            subject=f"Voice Support: {session['last_query'][:50]}",
            description=f"Customer query: {session['last_query']}\n\nAI response: {session['last_response']}",
            customer_email=session['customer_info'].get('email', '[email protected]')
        )

        # Generate response
        response = "I've created a support ticket for you. One of our agents will follow up shortly."
        audio_file = voice_service.text_to_speech(response)

        return send_file(audio_file, mimetype='audio/mp3')
    else:
        response = "I'm glad I could help. Is there anything else you need assistance with?"
        audio_file = voice_service.text_to_speech(response)

        return send_file(audio_file, mimetype='audio/mp3')

if __name__ == '__main__':
    app.run(debug=True, port=5000)
Step 6: Deployment and Testing
Now that we’ve built our application, let’s deploy and test it.
Local Testing
- Start your Flask application:
python app.py
- Use a tool like ngrok to expose your local server to the internet:
ngrok http 5000
- Copy the ngrok URL (e.g.,
https://abc123.ngrok.io)
Configuring ElevenLabs Webhook
- In the ElevenLabs Conversational AI platform, go to your agent’s settings
- Navigate to the “Integration” tab
- Select “Webhook” as the integration type
- Enter your ngrok URL +
/webhook/incoming-callas the webhook endpoint - Save the configuration
Testing the Integration
- Call your agent using the provided phone number or test interface
- Ask a support question (e.g., “How do I reset my password?”)
- Listen to the voice response, which should include information retrieved from your Zendesk knowledge base
Advanced Customization: Enhancing Your Voice-Enabled RAG System
Implementing Sentiment Analysis
To make your support system more empathetic, you can add sentiment analysis to detect customer frustration and adjust responses accordingly:
from textblob import TextBlob

def analyze_sentiment(text):
    """Analyze sentiment of customer query"""
    analysis = TextBlob(text)
    # Score ranges from -1 (negative) to 1 (positive)
    return analysis.sentiment.polarity

# In your query handler
score = analyze_sentiment(query)
if score < -0.3:
    # Customer seems frustrated
    apology = "I understand this is frustrating. Let me find the best solution for you."
    response = apology + " " + response
Adding Multi-language Support
Expand your support system to handle multiple languages:
from googletrans import Translator

translator = Translator()

def detect_and_translate(text):
    """Detect language and translate if needed"""
    detection = translator.detect(text)
    source_lang = detection.lang

    if source_lang != 'en':
        # Translate to English for processing
        translation = translator.translate(text, dest='en')
        return translation.text, source_lang

    return text, 'en'

# In your query handler
translated_query, source_lang = detect_and_translate(query)
# Process with translated query
response = rag_engine.query_knowledge_base(translated_query)

# Translate response back if needed
if source_lang != 'en':
    response = translator.translate(response, dest=source_lang).text
Implementing Continuous Learning
Enable your system to learn from interactions:
def log_interaction(query, response, helpful):
    """Log interaction for future training"""
    with open('interaction_log.jsonl', 'a') as f:
        log_entry = {
            'timestamp': datetime.now().isoformat(),
            'query': query,
            'response': response,
            'helpful': helpful
        }
        f.write(json.dumps(log_entry) + '\n')
Monitoring and Analytics
To track the performance of your voice-enabled RAG system, implement analytics tracking:
def track_metrics(session_id, query, response_time, resolution_status):
    """Track key performance metrics"""
    # In a production system, you would send this data to your analytics platform
    print(f"Session: {session_id}")
    print(f"Query: {query}")
    print(f"Response time: {response_time}ms")
    print(f"Resolution status: {resolution_status}")
Security Considerations
When implementing this system, be sure to address these security considerations:
- Data Protection: Ensure all customer data is encrypted in transit and at rest
- Authentication: Implement proper authentication for all API endpoints
- Rate Limiting: Add rate limiting to prevent abuse
- Input Validation: Validate all user inputs to prevent injection attacks
- Audit Logging: Maintain logs of all system activities for security monitoring
Conclusion: Taking Customer Support to the Next Level
By integrating ElevenLabs’ voice AI with Zendesk through a RAG-powered architecture, you’ve created a sophisticated customer support system that combines the best of both worlds: the naturalness and accessibility of voice with the intelligence and knowledge retrieval capabilities of advanced AI.
This system offers numerous benefits:
- Reduced Support Costs: Automate routine inquiries while maintaining high-quality responses
- 24/7 Availability: Provide support outside of business hours
- Consistent Experiences: Ensure all customers receive the same high-quality information
- Scalability: Handle increasing support volume without linear cost increases
- Analytics: Gain insights into common customer issues and pain points
As voice AI technology continues to evolve and RAG implementations become more sophisticated, the gap between automated and human support will continue to narrow. By implementing this solution today, you’re not just solving current customer support challenges—you’re future-proofing your support infrastructure for the intelligent, voice-first world ahead.
Ready to take your customer support to the next level with ElevenLabs voice AI? Sign up for an ElevenLabs account and start building your voice-enabled RAG system today.
Note: The code samples in this tutorial are provided as examples and may require additional error handling and optimization for production environments.